


Installing a sailoQ is simple: it's just three wires. In this guide we explain how to connect it to a Raymarine ST40 or ST60 display and how to check that the speed is shown correctly.
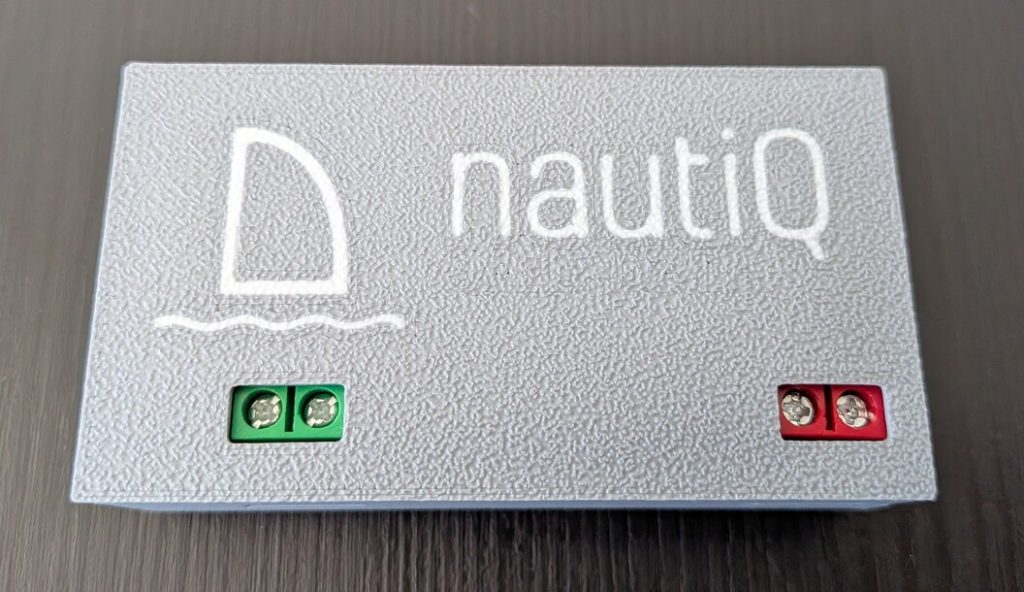
1. Connecting to the Raymarine ST60 or ST40
- 12 V power supply. Respect the positive and negative marked on the board. We recommend fitting a 1 A fuse and, if you like, a switch so you can turn it off.
- Speed-log output. It goes to the display's SPEED input, on the green wire's pin.
- Want to keep the water temperature reading? Leave the rest of your speed log's wires connected and replace only the green wire, which carries the speed, with the sailoQ's output.
2. Where to mount it
- Indoors, protected from moisture.
- Away from iron structures and other electrical equipment (radios, magnetic compasses…), which can interfere with the GPS.
- It can go anywhere along the cable, although next to the display is usually the most convenient.
3. First start-up: the calibration test
Every time it powers up, the sailoQ ramps the speed up to 3.5 knots, holds it for 30 seconds and returns to zero. This test lets you check that the display reads the pulses correctly:
- If your display shows 3.5 knots, everything is fine.
- If it shows a different value, it's worth adjusting the display's calibration.
After the test, the GPS needs to get a position fix. It's usually almost instant, but the first time it may take a few minutes.
4. Adjusting the calibration on the Raymarine ST60
- Go sailing with another GPS as a reference and compare both speeds.
- Using your Raymarine ST60 (or ST40) manual, adjust the speed-log calibration factor until they match. If you don't have it, you'll find it on the Raymarine website.
A normal detail: the sailoQ updates the speed every second, faster than many handheld GPS units. That's why it may look a bit more "lively" than your other GPS, just as a speed log would.
Download the manual
You'll find all the details in the sailoQ manual.
Want to forget about your speed log? sailoQ cube-micro, available in the shop.